Made some good progress on a few fronts today:
1. Sent the LPG tank back. It was too big (315mm diameter, 60L capacity) – I am swapping it for a 300mm diameter 40L one, which will give me a few options for mounting it.
2. Started building the bed box. See pics below.
3. Got lots of insulation completed, including fun with the expanding foam. I am glad I didn’t get the 2 part kit, I think it would have been a nightmare to work.
4. Received another Seitz window for the bathroom.
5. Received a load of gas fittings and whatnot (gas drop out covers, 4 way manifold etc.).
6. Received Fiamma table leg. The depth on the recessed part that fits to the floor is deeper than the floor (2 layers of ply, celotex and all), so I’ll need to either raise it up, or cut a hole in the van floor for it. It’s a nice bit of kit though.


Sides on the bed box. It will make a bed 6’ x 4’, the base is about 29” wide (24” foam laid flat + 5” foam on its end as a seat back).

Middle support of the bed box. It will have 2 x 3’ sections with individually hinged lids.

Ikea bed slats, they are just laid on at the moment. I ran out of screws, well didn’t have any long enough for the job (making the sides in fact which are just balanced in this picture) – These slats will be cut down, and another set interleaved with them. The second set will pull out to make the 4’ wide bed.
So I cut some celotex for the roof, propped it into place with battens and got to spraying. The spray went all over the place initially (I was using a small plastic pipe to direct the spray, but this started to melt and come off the gun, so I did the remainder just using the gun. The results were pretty good, it now looks like there is pink blancmange seeping through the walls…..

Pink Blancmange….

Pink Blancmange attack….

2 sections of roof and about 50% of the walls done….

Silver tape will be used across all the joints to seal them, before putting the ply on.

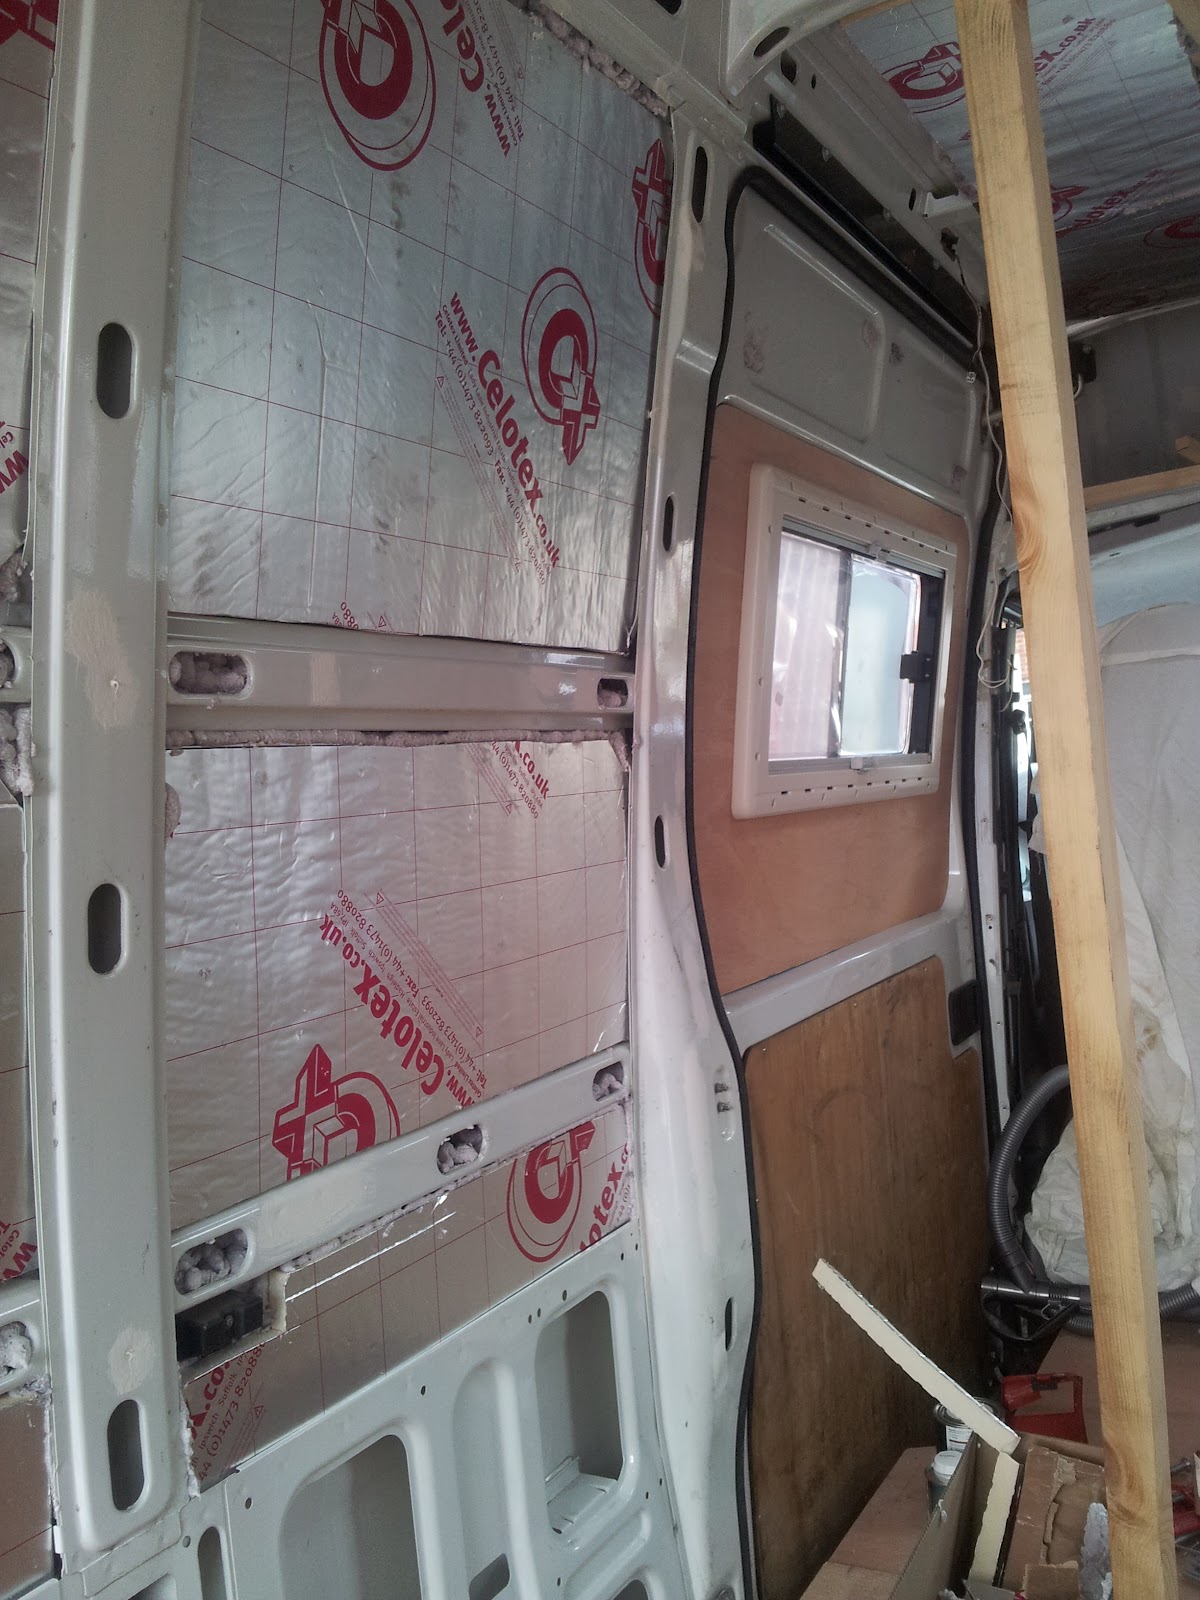
Pretty happy with the results, the panels sound solid when you tap them from the outside now, so as expected the foam has worked as both an acoustic and thermal insulator. Not sure what I am going to do with the lower walls with the complicated hole arrangement, I think it will take days to spray enough foam to fill the voids, so I will look at other options (like space blanket or recycled plastic bottle insulation)
Until next time...

No comments:
Post a Comment